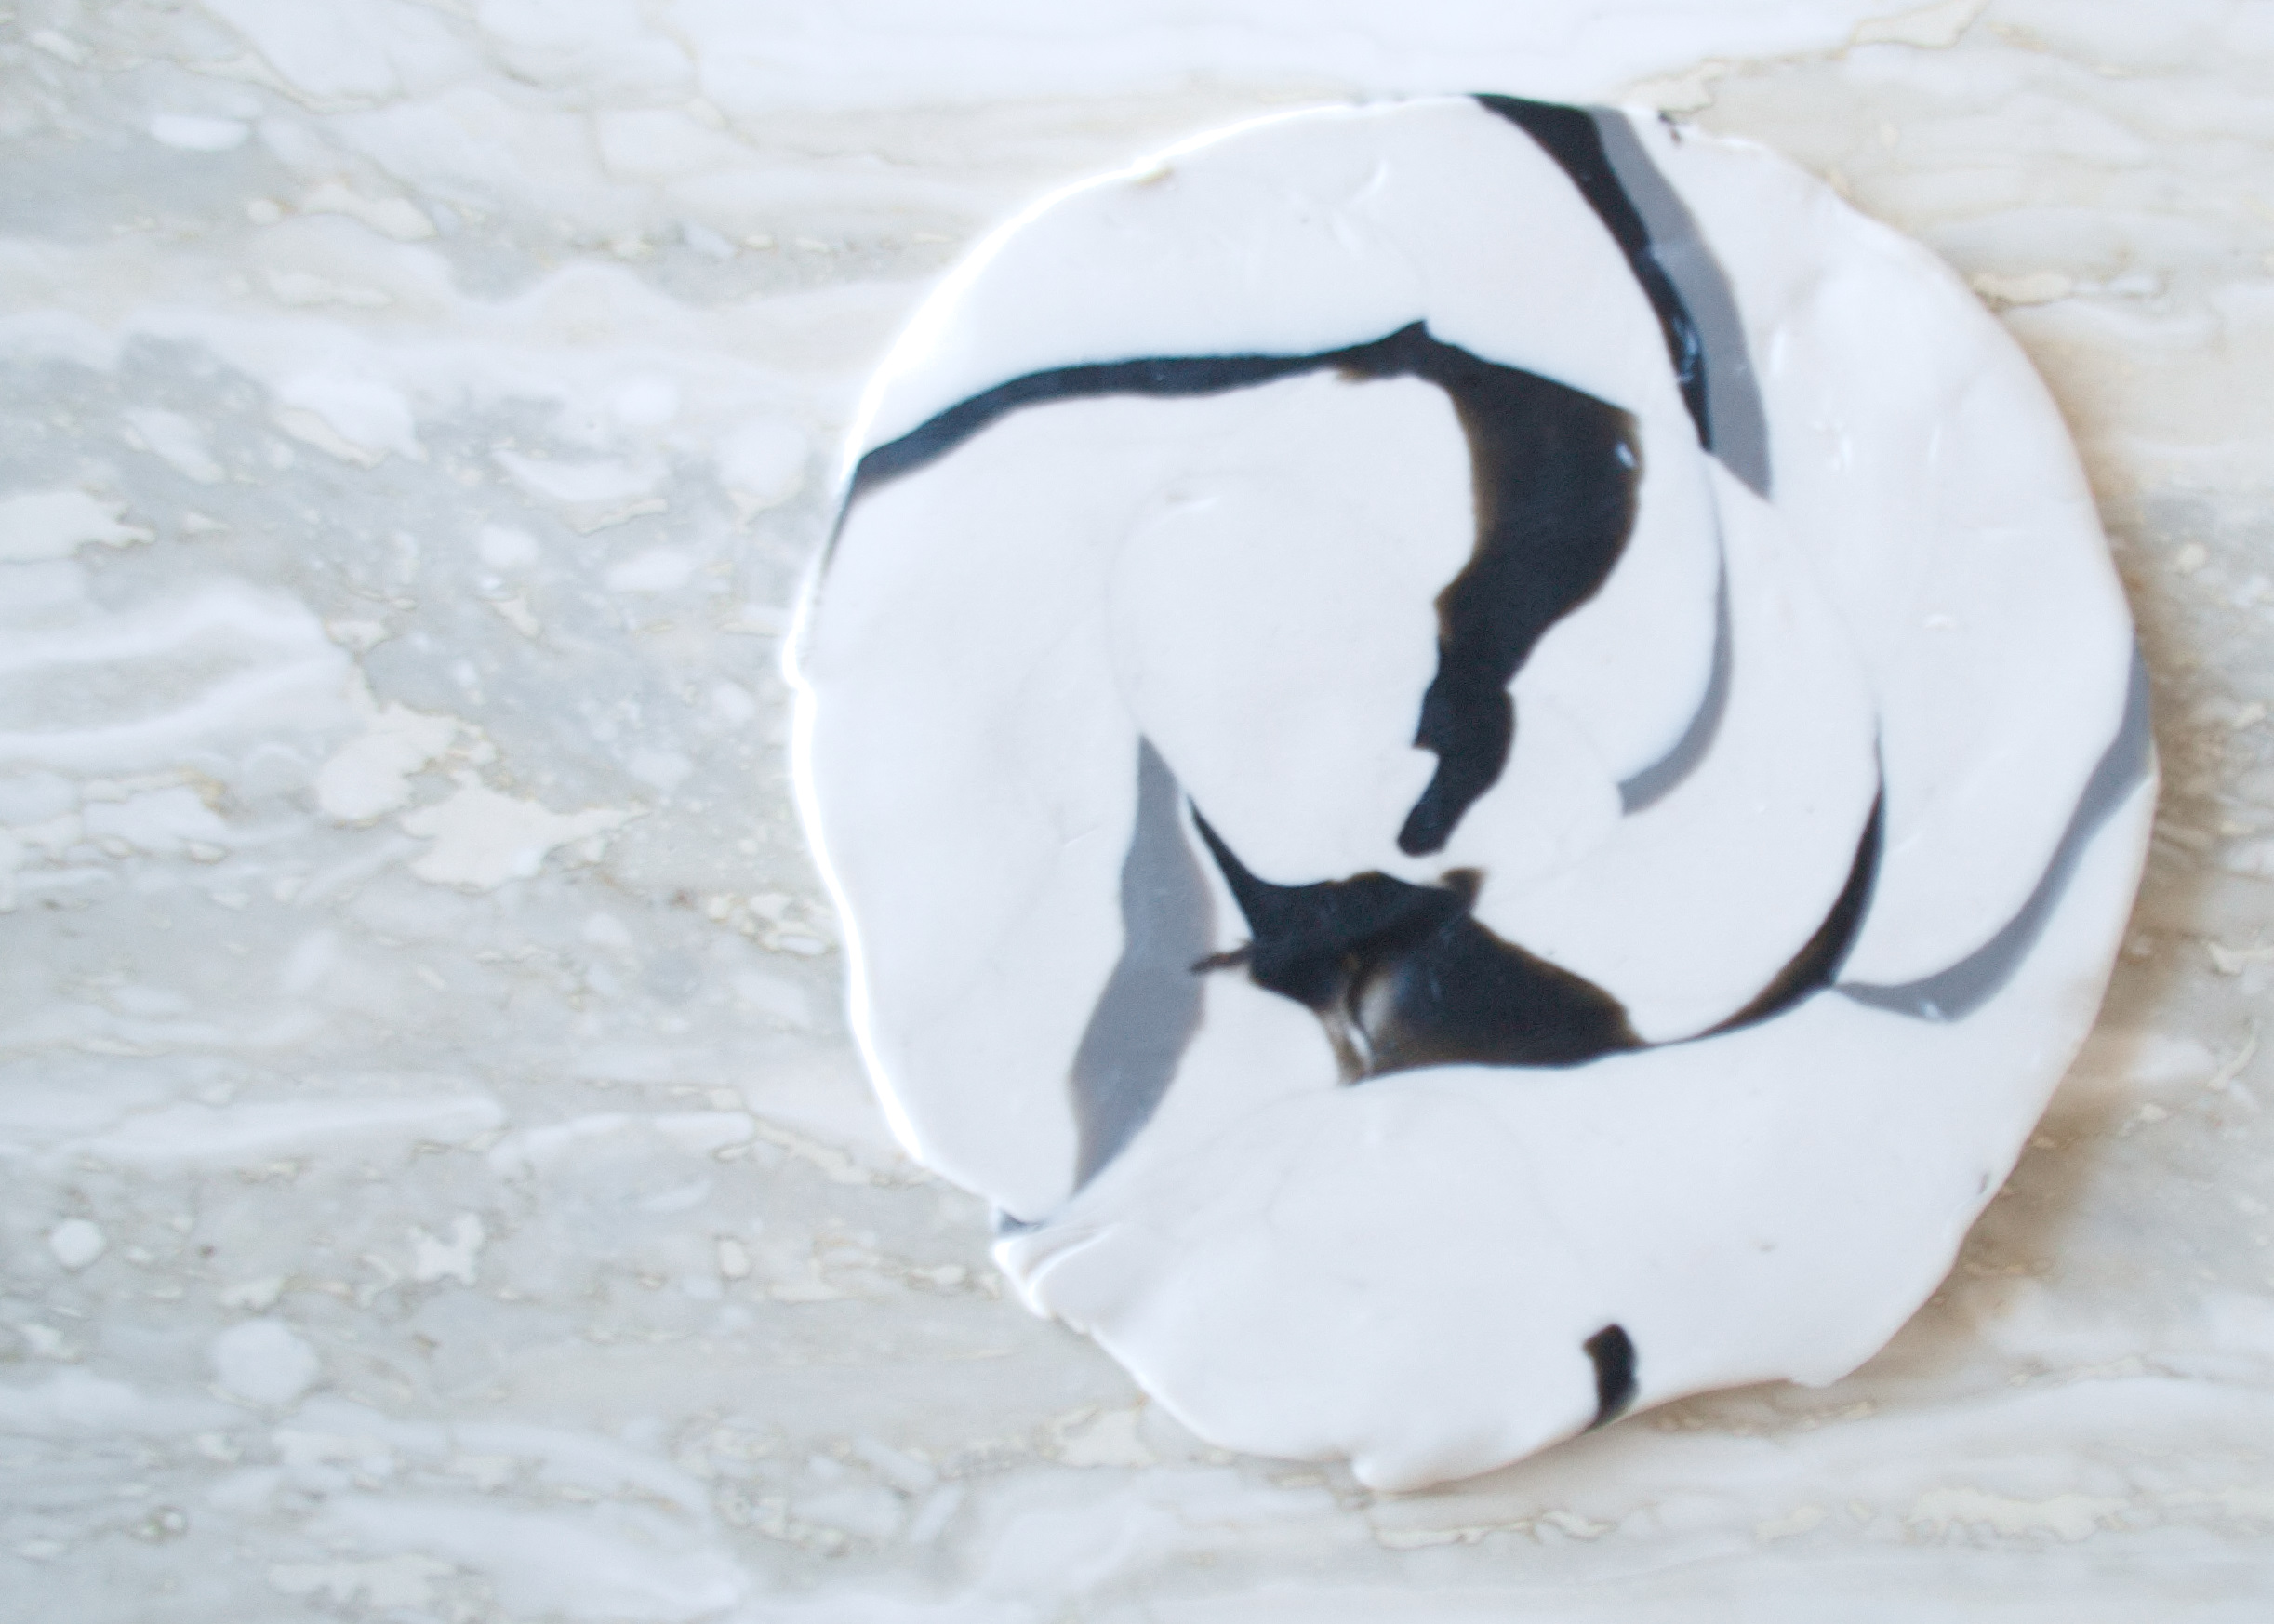
Clay Jewelry Dish
/If you are anything like me, chances are you have too much jewelry and not enough storage. Some jewelry storage can be expensive, so why not make your own. Enter, Sculpey Oven-Bake Clay! This is the perfect DIY to create a cute little dish for a couple of bracelets, a few rings or your favourite jewelry piece. I needed a dish to display my favourite necklace at the moment, a beautiful citrine necklace I bought from Black Dahlia Jewellery.
Supplies:
- Sculpey Oven Bake Clay - I used colours Pearl, Elephant Gray and Black
- Rolling Pin
- Oven safe bowl
- Ring Mold (or any circular object will do)
- Clay sculpting tools (optional)
Directions:
- Preheat oven to 275 °F
- Break or cut a piece of clay from each colour block. Note: I just eyeballed these measurements.. See photo below for size comparison of how much of each colour you will need. I used two strips of Pearl , 1/4 of a strip of the Elephant Gray and about 1/8 of the Black strip
- Roll each piece of clay into a string shape about 5-6 inches long
- Twist each string together to form one big string
- Roll the twisted string to lengthen and mix the colours
- Roll the clay into a spiral
- Using a rolling pin, flatten the clay until it's about 4mm thick, anything thinner might break after baking
- Once flattened, use a ring mold to cut out the perfect circular shape
- Place the cutout clay on the bottom of an oven safe bowl and form the clay around it. Don't press too hard.
- Place in oven and bake for 15 minutes
- Once baked, allow to cool for 10 minutes
- Add your jewelry and enjoy!
Give this a try, I would love to see your results!!


